Run the tests to verify that your compilation runs properly:
1
bazel test //lluvia/cpp/...
Python3 package
To build the Python3 package, execute the commands below from the repository’s top-level directory. You can create a virtual environment to isolate the installation:
git clone https://github.com/jadarve/lluvia.git
cd lluvia
docker build ci/ --tag="lluvia:local"
Run the container, mounting lluvia’s repository at /lluvia:
1
2
3
docker run \
--mount type=bind,source="$(pwd)",target=/lluvia \
-it --rm "lluvia:local" /bin/bash
Inside the container, build and test all of lluvia package:
1
2
3
cd lluvia
bazel build //...
bazel test --test_output=errors //...
3 - Raspberry Pi 4
Raspberry Pi config
OS Installation
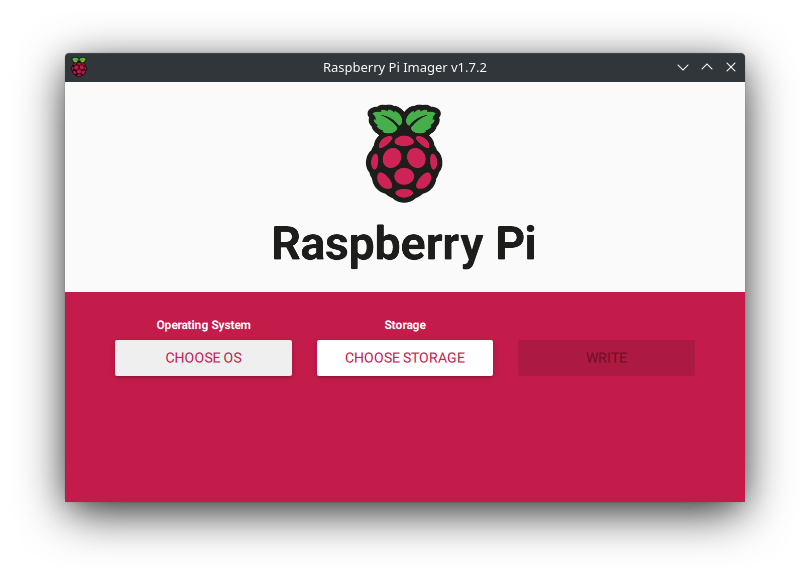
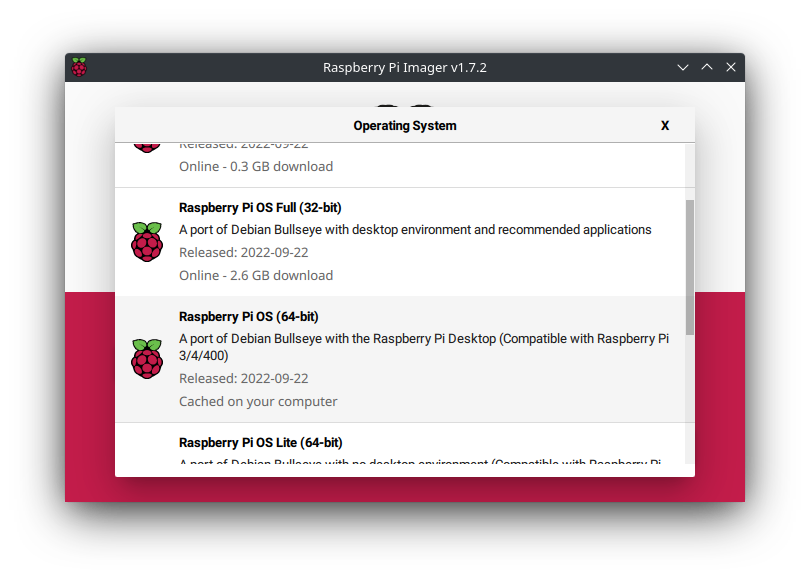
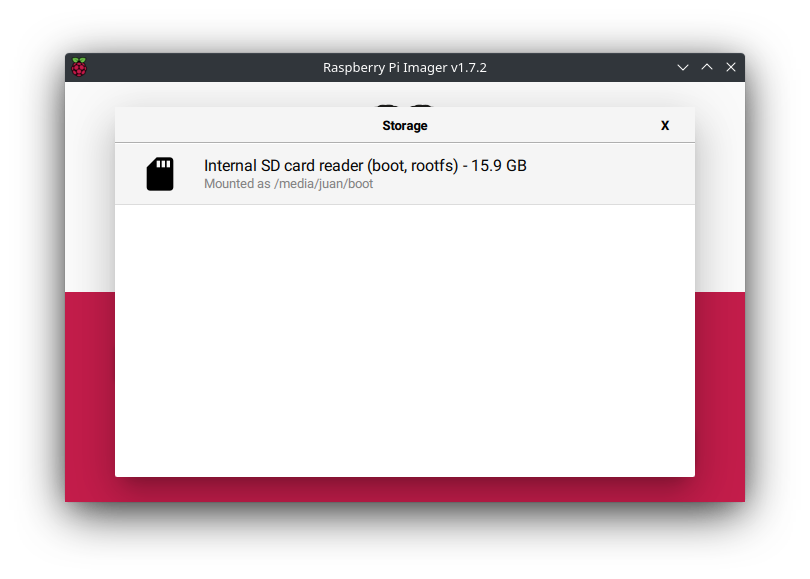
On the desktop machine, download the Raspberry Pi Imager and install a fresh version of the operating system in a micro SD card.
1
sudo apt install rpi-imager
Go to extra settings and enable SSH access, configure the WiFi, if needed. Click in write and wait for the process to complete.
Insert the micro SD card in the RPi and next, update and upgrade the operating system:
1
2
3
4
sudo apt update
sudo apt upgrade
sudo reboot
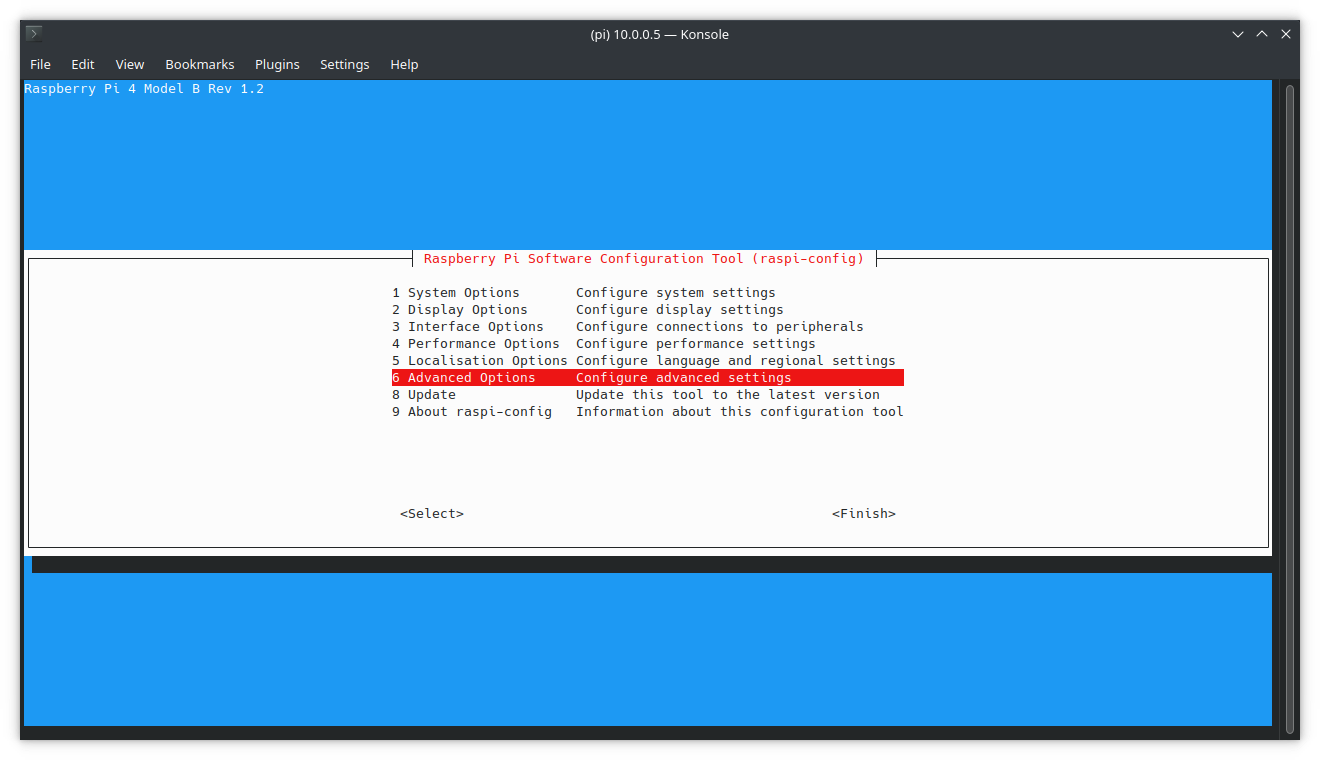
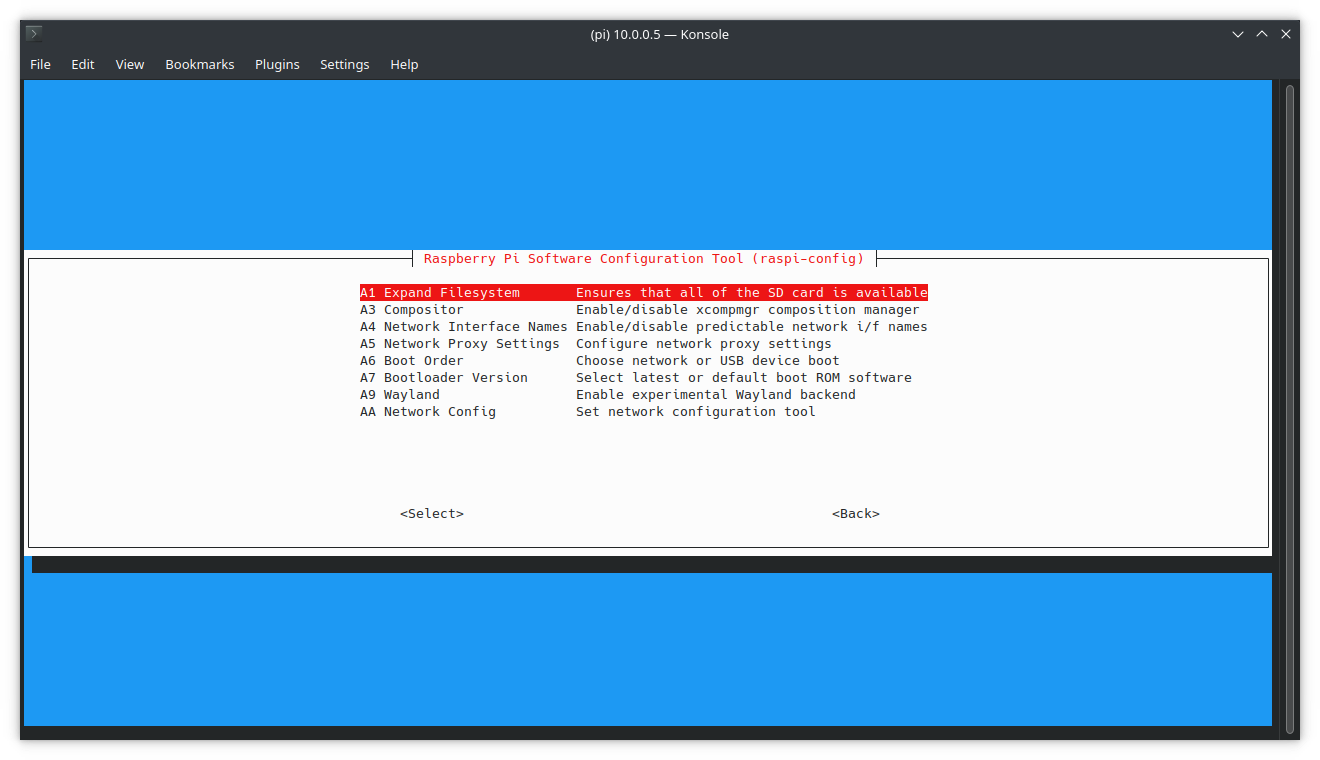
Expand storage
1
sudo raspi-config
1
sudo reboot
Increase swap memory
Some of the instructions bellow require more memory than the one available in the RPi4. For this, it is recommended to increase the SWAP memory available to the system so that compilation does not fail unexpectedly. Open the /sbin/dphys-swapfile and /etc/dphys-swapfile, and edit the line CONF_MAXSWAP=<some_value> to 4096. After it, reboot the RPi.
1
2
3
4
5
6
7
8
9
10
11
12
13
14
# unmount the swapsudo dphys-swapfile swapoff
# edit the swap configuration to:# CONF_SWAPSIZE=2048 # CONF_MAXSWAP=4096sudo nano /sbin/dphys-swapfile
sudo nano /etc/dphys-swapfile
# configure with new valuessudo dphys-swapfile setup
# start swapsudo dphys-swapfile swapon
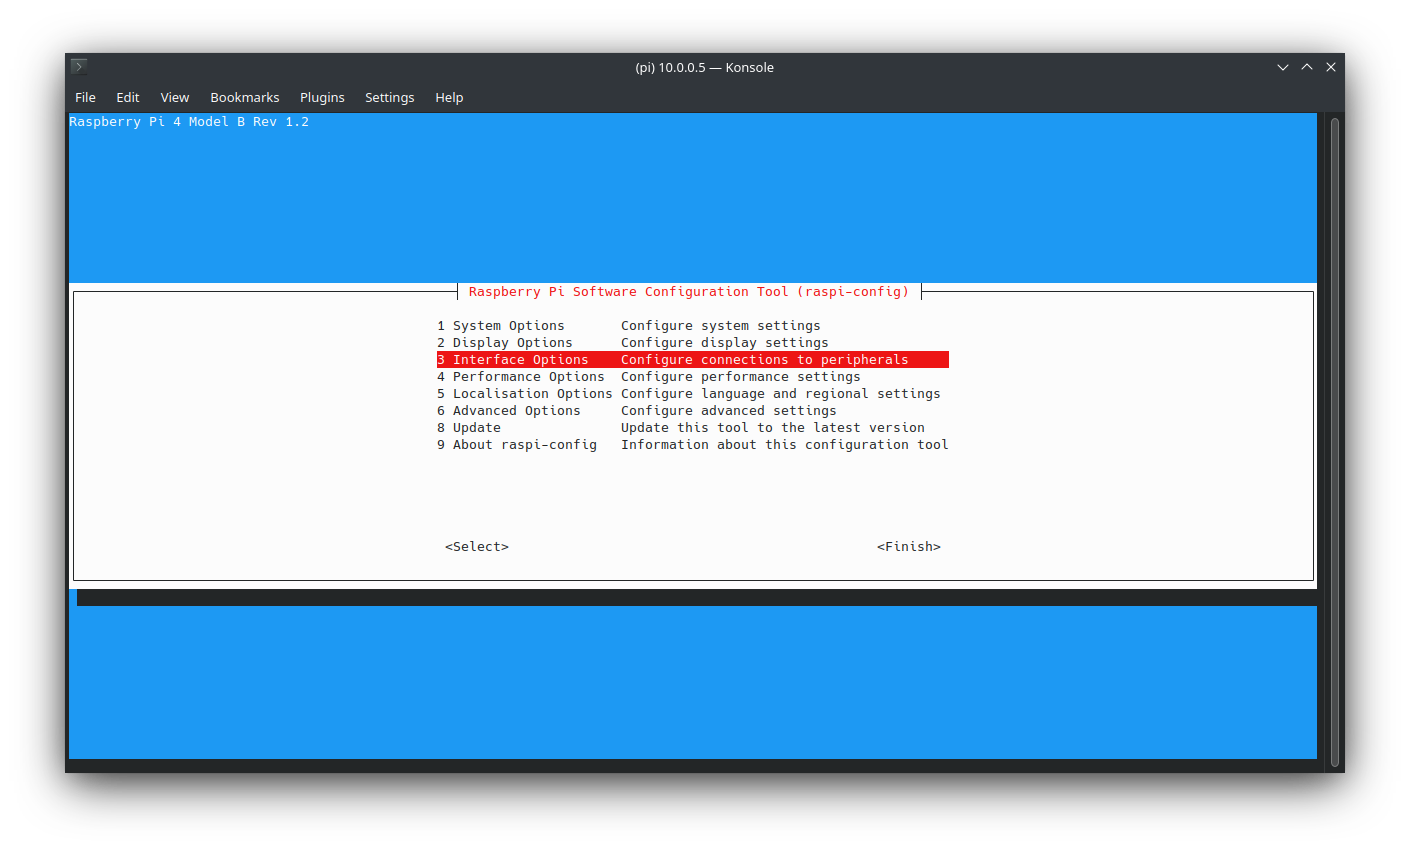
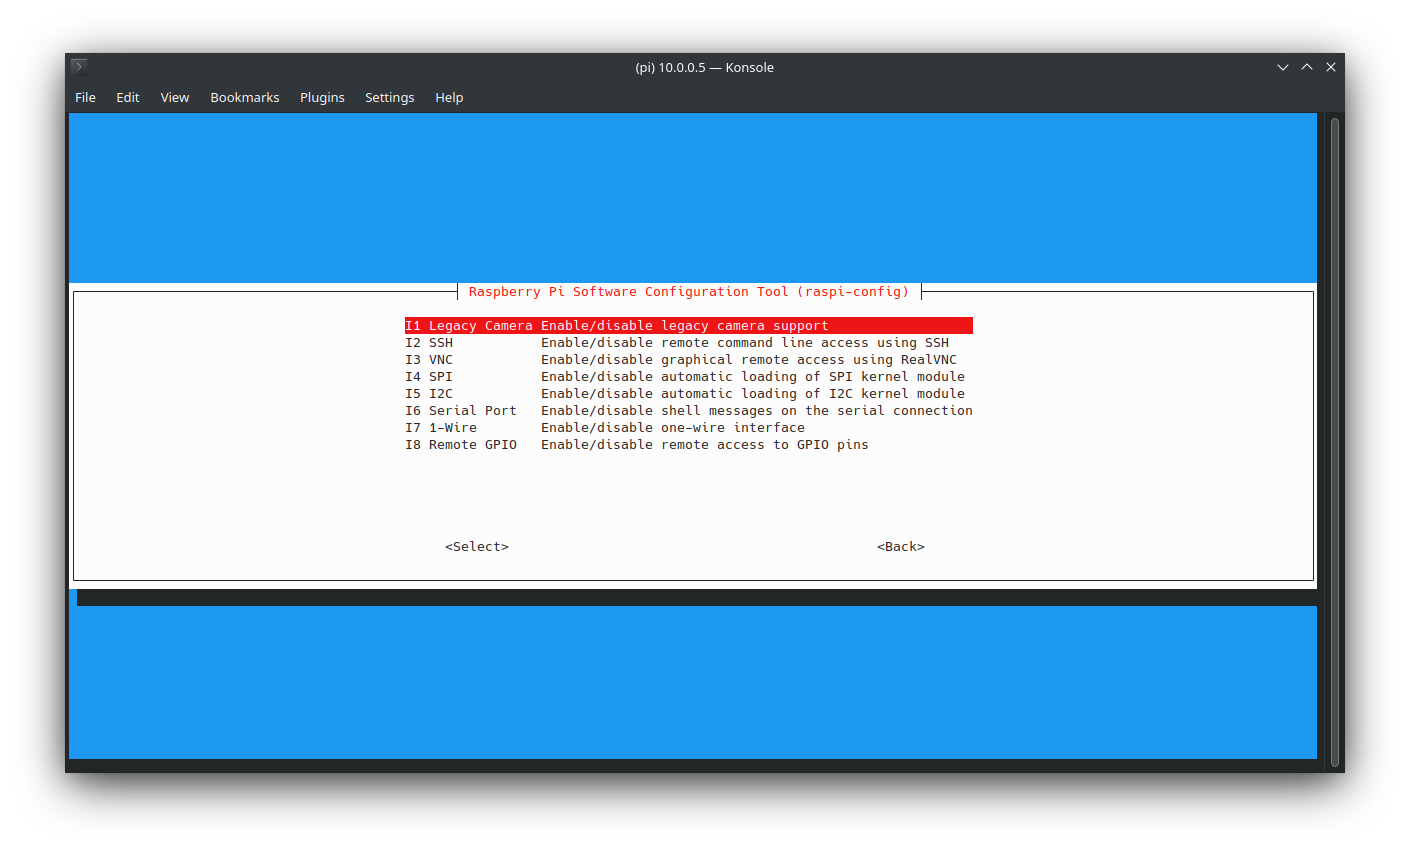
Camera module
If you have a camera module available, you can enable it by following the official guide
1
sudo raspi-config
1
sudo reboot
Vulkan SDK
Installation guide
The official installation instructions are available in the LunarG website.
mkdir -p ~/local/vulkan
cd ~/local/vulkan
wget -O vulkansdk.tar.gz \
https://sdk.lunarg.com/sdk/download/1.3.231.2/linux/vulkansdk-linux-x86_64-1.3.231.2.tar.gz
tar -xvf vulkansdk.tar.gz
# remove archive to save spacerm vulkansdk.tar.gz
cd 1.3.231.2
# remove prebuilt x86_64 libraries are not needed in the RPirm -rf x86_64
# build the SDK./vulkansdk -j 4 glslang
./vulkansdk -j 4 vulkan-headers
./vulkansdk -j 4 vulkan-loader
./vulkansdk -j 2 vulkan-validationlayers # this one consumes all the RAM and uses SWAP memory./vulkansdk -j 4 vulkan-tools
./vulkansdk -j 4 vulkantools
./vulkansdk -j 4 shaderc
./vulkansdk -j 4 spirv-headers
./vulkansdk -j 4 spirv-tools
./vulkansdk -j 4 spirv-cross
./vulkansdk -j 4 gfxreconstruct
./vulkansdk -j 4 spirv-reflect
./vulkansdk -j 4 vulkan-extensionlayer
./vulkansdk -j 4 vulkan-profiles
./vulkansdk -j 4 DirectXShaderCompiler
./vulkansdk -j 4 volk
./vulkansdk -j 4 VulkanMemoryAllocator
./vulkansdk -j 4 VulkanCapsViewer
Configure the VULKAN_SDK environment variable permanently in the system:
1
2
3
4
5
6
# edit .bashrc or .zshrc accordinglynano .bashrc
# include the following environment variables at the end of the fileexportVULKAN_SDK=~/local/vulkan/1.3.231.2/aarch64
exportPATH=$VULKAN_SDK/bin:$PATH
It is important to install the vulkan libraries as part of the operating system. When Bazel runs the Lluvia tests, is not able to find the layer libraries from the VULKAN_SDK environment variable.
git clone https://github.com/jadarve/lluvia.git
cd lluvia
# install requirements listed in lluvia's root foldersudo python3 -m pip install -r requirements.txt
bazel build //lluvia/cpp/...
# Run the tests to verify runtime is configured propertlybazel test //lluvia/cpp/...
# Build and install the python wheelbazel build //lluvia/python:lluvia_wheel
python3 -m pip install bazel-bin/lluvia/python/lluvia-0.0.1-py3-none-any.whl
Examples
With the Raspberry Pi camera module installed, it is possible to run the webcam demo located at samples/webcam/webcam.py. The command below configures the camera to output images at 320x240 resolution and fed to the webcam/HornSchunck container node, defined in the horn_schunck.lua script:
Vulkan SDK: follow the official installation instructions from LunarG.
Bazel: follow the official installation guide from bazel.build.
Clone and configure the repository
Clone the Lluvia repository from Github:
1
2
git clone https://github.com/jadarve/lluvia.git
cd lluvia
Open platform/values.bzl and change the paths to Python2 and Python3 according to your installation. Initially the file looks like this:
1
2
3
4
5
6
7
8
9
# Linuxpython2_path_linux ="/usr/bin/python2"python3_path_linux ="/usr/bin/python3"# Windowspython2_path_windows ="C:/Python27/python.exe"# get this value by running where.exe python3python3_path_windows ="C:/hostedtoolcache/windows/Python/3.7.9/x64/python3.exe"
Build the C++ libraries
1
bazel build //lluvia/cpp/...
Run the tests to verify that your compilation runs properly:
1
bazel test //lluvia/cpp/...
Python3 package
To build the Python3 package, execute the commands below from the repository’s top-level directory.